SPF, DKIM & DMARC: What They Are, How to Set Them Up, and Why They Matter
Your emails are well-crafted. Your list is clean. Your sending schedule is consistent. But your open rates are sinking and Gmail keeps pushing you to spam. The problem might not be what you're sending -- it might be that you haven't proven you're actually you.
Email authentication is how you prove to mailbox providers that an email claiming to come from your domain actually came from your domain. Without it, anyone can forge your "From" address and send phishing emails pretending to be your brand. Mailbox providers know this -- which is why unauthenticated email is treated as suspicious by default.
Three protocols form the backbone of email authentication: SPF, DKIM, and DMARC. Together, they tell receiving servers who is allowed to send on your behalf, that messages haven't been tampered with, and what to do when something fails. In this guide, we'll explain all three in plain language, show you exactly how to set each one up, and cover the mistakes that trip up even experienced senders.
What Is Email Authentication?
When you send a letter through the postal service, the recipient can see the return address -- but anyone could write any return address on an envelope. Email works the same way. The "From" field in an email is just text. Without authentication, there's nothing stopping a spammer from sending an email that says it's from you@yourdomain.com.
Email authentication solves this by adding verifiable proof to your messages. It's a set of DNS records and cryptographic techniques that allow receiving mail servers to answer three questions:
- Is this server authorized to send email for this domain? (SPF)
- Has this message been altered since it was sent? (DKIM)
- What should I do if authentication fails? (DMARC)
Think of it like showing ID at the door. SPF is the guest list. DKIM is the wristband that proves you were verified at the entrance. DMARC is the bouncer's instructions for what to do when someone doesn't match up.
SPF Explained
What SPF is
SPF (Sender Policy Framework) is a DNS TXT record that lists every IP address and mail server authorized to send email on behalf of your domain. When a receiving server gets an email from your domain, it checks your SPF record to see if the sending server's IP address is on the approved list.
If the IP matches, SPF passes. If it doesn't, SPF fails -- and the receiving server knows the email might be forged.
How SPF works (step by step)
- You send an email from
hello@yourdomain.comthrough your email service provider (ESP). - The receiving server sees the email claims to be from
yourdomain.com. - It looks up the SPF record in the DNS for
yourdomain.com. - The SPF record says something like: "Only these servers are allowed to send for me: 192.0.2.1, and anything listed in Mailchimp's SPF record."
- The receiving server checks whether the IP that actually sent the email matches the SPF record.
- If it matches: SPF pass. If it doesn't: SPF fail.
How to set up SPF
Setting up SPF requires adding a single TXT record to your domain's DNS. Here's what a typical SPF record looks like:
v=spf1 include:_spf.google.com include:servers.mcsv.net -allLet's break that down:
v=spf1-- identifies this as an SPF recordinclude:_spf.google.com-- authorizes Google Workspace to send for your domaininclude:servers.mcsv.net-- authorizes Mailchimp to send for your domain-all-- tells receivers to reject email from any server not listed above
To set it up: log in to your DNS provider (GoDaddy, Cloudflare, Namecheap, etc.), go to DNS records, add a new TXT record with the host set to @ (your root domain), and paste your SPF value. Your ESP will tell you exactly what to include -- check their documentation.
Common SPF mistakes
- Multiple SPF records. Your domain can only have one SPF record. If you add a second one (e.g., one for Google and one for Mailchimp), both will break. Combine them into a single record using multiple
include:statements. - Too many DNS lookups. SPF has a limit of 10 DNS lookups. Each
include:counts as a lookup, and nested includes count too. If you exceed 10, SPF fails automatically for every email you send. Use an SPF flattening tool if you're hitting the limit. - Using
+allinstead of-all. The+allflag means "allow everyone to send as my domain" -- which defeats the entire purpose of SPF. Always use-all(hard fail) or at minimum~all(soft fail). - Forgetting third-party senders. If you use a CRM, helpdesk, or transactional email service, their servers need to be in your SPF record too. A common pattern: marketing emails pass SPF, but transactional emails from your helpdesk fail because you forgot to add them.
DKIM Explained
What DKIM is
DKIM (DomainKeys Identified Mail) adds a cryptographic digital signature to every email you send. This signature is generated using a private key that only your sending server has. The corresponding public key is published in your DNS so that anyone can verify the signature.
Unlike SPF, which only checks the sending server, DKIM verifies that the content of the email hasn't been changed after it was sent. If someone intercepts your email and modifies it, the DKIM signature breaks and the receiving server knows the message was tampered with.
How DKIM works (step by step)
- Your email server generates a unique cryptographic hash of the email headers and body.
- It signs that hash with your private key and attaches the signature to the email header as a
DKIM-Signaturefield. - The receiving server sees the DKIM signature and extracts the selector and domain from it.
- It looks up the public key in your DNS using the selector (e.g.,
selector1._domainkey.yourdomain.com). - It uses the public key to verify the signature against the email content.
- If the signature matches: DKIM pass. If it doesn't: DKIM fail (the message was altered or the key doesn't match).
How to set up DKIM
DKIM setup is slightly more involved than SPF because it requires your email provider to generate a key pair. Here's the general process:
- Generate DKIM keys in your ESP. Go to your email provider's settings and look for "DKIM" or "Email Authentication." Most providers (Google Workspace, Mailchimp, SendGrid, etc.) will generate the keys for you and give you a DNS record to add.
- Add the DKIM record to your DNS. You'll get a TXT or CNAME record with a host like
google._domainkeyand a long value containing the public key. Add this to your DNS provider. - Activate DKIM in your ESP. Some providers require you to click "Start authenticating" or similar after adding the DNS record. Don't skip this step.
- Verify it works. Send a test email and check the email headers for
dkim=pass. Most ESPs also show DKIM status in their dashboard.
A DKIM DNS record looks something like this:
Host: google._domainkey.yourdomain.com
Type: TXT
Value: v=DKIM1; k=rsa; p=MIIBIjANBgkqhkiG9w0BAQEFAAOCAQ8A...
Common DKIM mistakes
- Not setting up DKIM for all senders. Each email service you use needs its own DKIM key. If you set up DKIM for Google Workspace but not for Mailchimp, emails from Mailchimp will fail DKIM checks.
- Key length too short. Use at least 1024-bit keys, but 2048-bit is the standard in 2026. Some providers still default to 1024 -- upgrade if possible.
- Not rotating keys. While there's no mandatory rotation schedule, rotating DKIM keys annually is a security best practice. If a private key is ever compromised, someone could sign emails as your domain.
- DNS record too long for a single TXT entry. Some DNS providers have a 255-character limit per TXT record string. If your 2048-bit key exceeds this, you may need to split it into multiple quoted strings. Your ESP's documentation will show you how.
DMARC Explained
What DMARC is
DMARC (Domain-based Message Authentication, Reporting and Conformance) is the protocol that ties SPF and DKIM together and adds a critical missing piece: a policy. DMARC tells receiving servers what to do when an email from your domain fails authentication.
Without DMARC, receiving servers have to guess. Should they deliver the email anyway? Spam-folder it? Reject it entirely? Every server makes its own decision. DMARC lets you decide by publishing a clear policy in your DNS.
DMARC also introduces alignment. SPF and DKIM each check different parts of the email header. DMARC requires that at least one of them "aligns" with the domain in the visible "From" address -- the one your recipients actually see. This closes a loophole where an attacker could pass SPF with one domain but display a completely different domain to the recipient.
DMARC policies: none, quarantine, and reject
DMARC offers three policy levels:
p=none (Monitor Only)
Start HereReceiving servers deliver all emails regardless of authentication results, but send you reports. This is the "observation mode" -- use it to discover all legitimate senders before enforcing a policy.
p=quarantine
IntermediateEmails that fail authentication are sent to the spam/junk folder. Legitimate emails from authorized senders still reach the inbox. This is a good stepping stone while you verify everything is working.
p=reject
Maximum ProtectionEmails that fail authentication are blocked entirely -- they never reach the recipient, not even in spam. This provides the strongest protection against domain spoofing and phishing attacks on your brand.
How to set up DMARC
DMARC is a single TXT record in your DNS. Here's the recommended approach:
Step 1: Start with monitoring. Add this TXT record to your DNS:
Host: _dmarc.yourdomain.com
Type: TXT
Value: v=DMARC1; p=none; rua=mailto:dmarc-reports@yourdomain.comv=DMARC1-- identifies this as a DMARC recordp=none-- monitor only, don't take action on failuresrua=mailto:...-- where to send aggregate reports (XML reports showing who's sending as your domain and whether they pass authentication)
Step 2: Review reports for 2-4 weeks. You'll receive XML reports from major mailbox providers. These reports show every IP address that sent email using your domain and whether SPF/DKIM passed or failed. Use a DMARC report analyzer (like dmarcian or EasyDMARC) to make the data readable. Your goal: make sure all your legitimate senders pass both SPF and DKIM.
Step 3: Move to quarantine. Once you're confident all legitimate email is passing:
v=DMARC1; p=quarantine; rua=mailto:dmarc-reports@yourdomain.comStep 4: Move to reject. After another few weeks of clean reports:
v=DMARC1; p=reject; rua=mailto:dmarc-reports@yourdomain.comNever jump straight to p=reject without monitoring first. If a legitimate sender isn't properly authenticated, their emails will be silently dropped -- and you won't know until someone complains they never received your message.
Common DMARC mistakes
- Jumping straight to p=reject. This is the most dangerous mistake. If you have a forgotten third-party sender (old CRM, helpdesk, transactional email service) that isn't authenticated, their emails will be blocked with no warning.
- Not setting up a reporting address (rua). Without reports, you're flying blind. You won't know if legitimate email is failing or if someone is spoofing your domain.
- Ignoring DMARC reports. Setting up
p=noneand never looking at the reports defeats the purpose. The whole point of monitoring is to find problems before you enforce a policy. - Alignment issues. DMARC requires that the domain in SPF or DKIM matches (aligns with) the visible "From" domain. If your ESP sends from a different domain and doesn't sign with your domain's DKIM, DMARC will fail even if SPF passes.
SPF vs. DKIM vs. DMARC: Comparison
Here's a side-by-side look at what each protocol does and what it protects against:
| SPF | DKIM | DMARC | |
|---|---|---|---|
| What it does | Lists authorized sending servers | Adds a cryptographic signature to emails | Sets a policy for authentication failures |
| DNS record type | TXT on root domain | TXT or CNAME on selector._domainkey | TXT on _dmarc subdomain |
| What it verifies | Sending server IP is authorized | Message content hasn't been altered | SPF/DKIM align with visible From domain |
| Prevents | Unauthorized servers sending as you | Email tampering in transit | Domain spoofing and phishing |
| Works alone? | Partially -- doesn't check From header | Partially -- no policy on failure | No -- requires SPF and/or DKIM |
| Required in 2026? | Yes -- Gmail & Yahoo require it | Yes -- Gmail & Yahoo require it | Yes -- required for bulk senders |
The key takeaway: each protocol covers a different gap. SPF alone doesn't verify the visible "From" address. DKIM alone doesn't tell receivers what to do when authentication fails. DMARC alone doesn't work without SPF or DKIM to anchor it. You need all three working together.
How Authentication Affects Deliverability
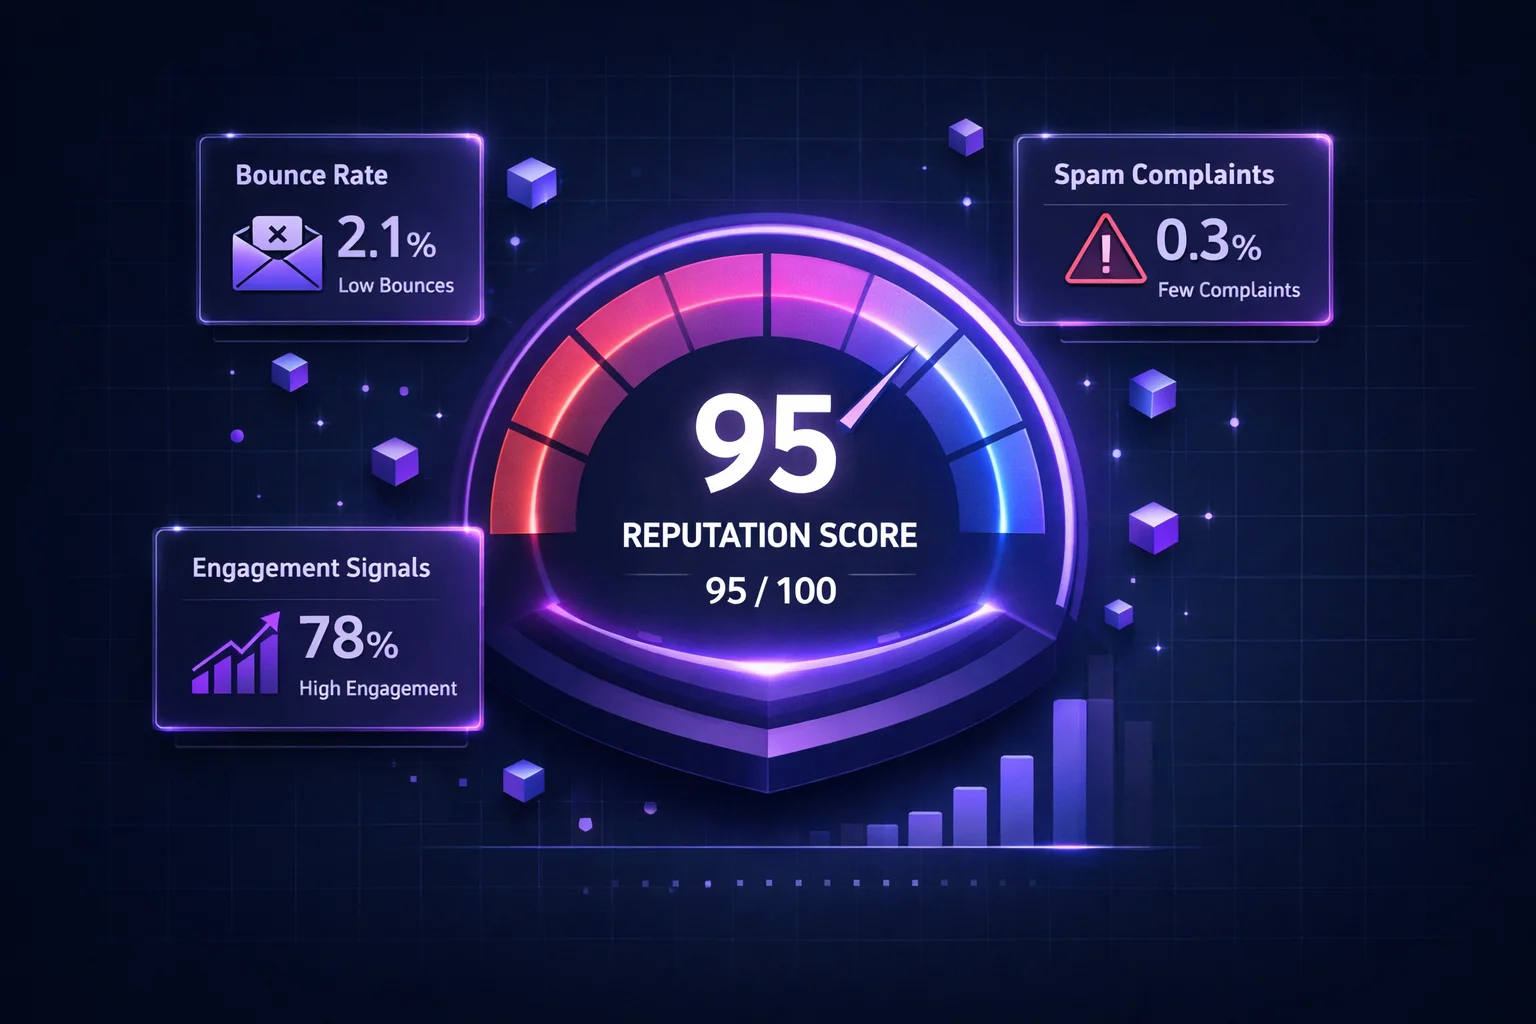
Email authentication is one of the foundational pillars of sender reputation. Mailbox providers use authentication as a baseline trust signal. It's not a guarantee of inbox placement -- you still need clean lists, low complaints, and good engagement -- but without authentication, everything else you do is undermined.
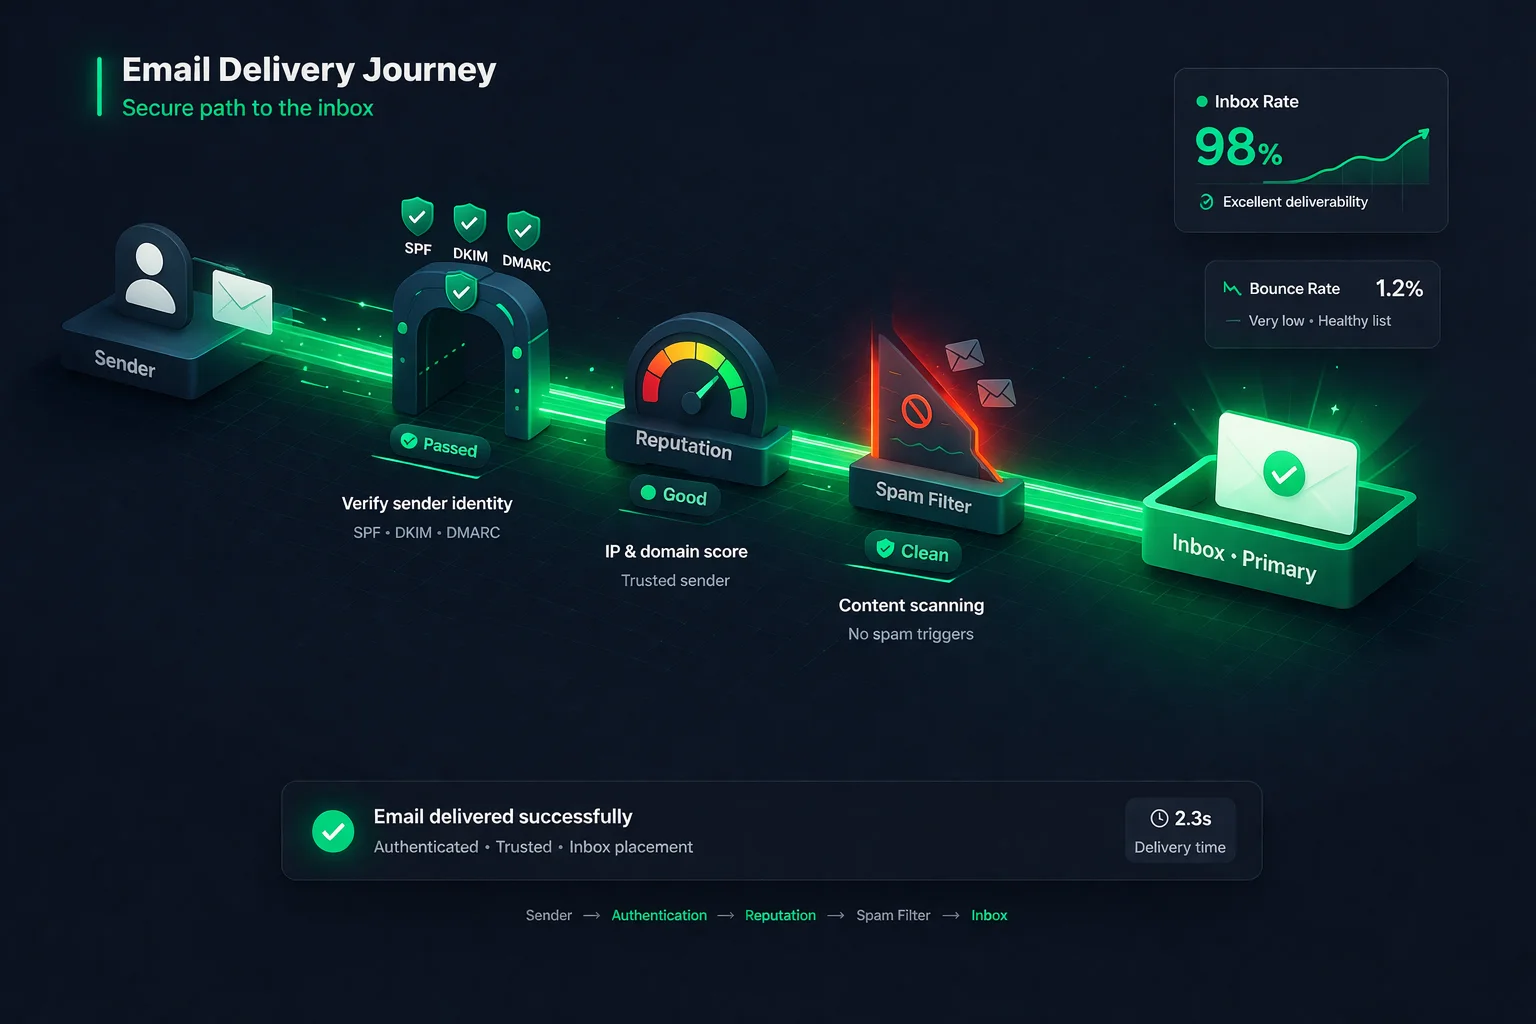
Here's what happens at each authentication level:
- No authentication: Most major providers will either spam-folder or reject your email outright. Gmail has been increasingly aggressive about this since their 2024 sender requirements update.
- SPF only: Better than nothing, but you're leaving gaps. Forwarded emails will break SPF, and there's no protection against domain spoofing in the visible From field.
- SPF + DKIM: Significantly better. You're proving both server authorization and message integrity. But without DMARC, there's no policy and no reports -- you don't know when failures happen.
- SPF + DKIM + DMARC (reject): The gold standard. Full authentication, full protection, full visibility. This is what Gmail and Yahoo require for bulk senders and what every domain should aim for.
Authentication is especially critical if you use multiple sending services. Every ESP, CRM, helpdesk, and transactional email system that sends on behalf of your domain needs to be properly authenticated. A single unauthenticated sender can drag down your entire domain's reputation. Use ClearBounce's Deliverability Kit to monitor your authentication status and catch problems before they affect your inbox placement.
100%
of Gmail bulk senders must have SPF, DKIM & DMARC since 2024
10%
higher inbox placement for domains with DMARC p=reject vs. no DMARC
3.1B
spoofed emails blocked daily by DMARC-protected domains worldwide
Common Authentication Mistakes
Even senders who think they've set up authentication correctly often have hidden problems. Here are the most frequent issues we see:
Your domain can only have one SPF TXT record. Adding a second one (instead of merging) causes both to fail. This is the single most common SPF misconfiguration.
Each include:, a, mx, and redirect mechanism counts as a DNS lookup. Many senders exceed 10 without realizing it, causing SPF to return PermError for every single email.
Marketing emails pass, but your helpdesk, CRM, or invoice system fails authentication because you forgot to add them to SPF and set up DKIM. Every sending service needs to be covered.
Going straight to reject without a monitoring period means any forgotten or misconfigured sender will have their emails silently dropped. Always start with p=none and review reports first.
Setting up DMARC with p=none and never reading the reports means you won't notice when a sender breaks, when someone spoofs your domain, or when you're ready to enforce a stricter policy.
Keys shorter than 1024 bits can be cracked, allowing attackers to sign emails as your domain. Use 2048-bit keys and rotate them annually. Some providers still default to 1024 -- check and upgrade.
Email Authentication Checklist
Use this checklist to verify your authentication is set up correctly. Each item takes minutes to check but can prevent weeks of deliverability problems:
| Task | Protocol | Priority |
|---|---|---|
| Publish a single SPF record listing all senders | SPF | Critical |
| Verify SPF uses fewer than 10 DNS lookups | SPF | Critical |
End SPF record with -all or ~all |
SPF | High |
| Set up DKIM for every email service you use | DKIM | Critical |
| Use 2048-bit DKIM keys (not 1024-bit) | DKIM | High |
| Publish a DMARC record (start with p=none) | DMARC | Critical |
| Configure DMARC report address (rua) | DMARC | High |
| Review DMARC reports weekly | DMARC | High |
| Upgrade DMARC to p=quarantine after monitoring | DMARC | Medium |
| Upgrade DMARC to p=reject when confident | DMARC | Medium |
| Send test emails and verify pass in headers | All | High |
| Monitor blocklist status regularly | All | High |
The Bottom Line
Email authentication isn't optional anymore. Gmail, Yahoo, and Microsoft all use SPF, DKIM, and DMARC as baseline signals for deciding whether your emails belong in the inbox or the spam folder. As of 2024, Gmail and Yahoo explicitly require all three for bulk senders -- and the trend is clear: authentication requirements are only getting stricter.
The good news is that setting up authentication is a one-time effort with permanent benefits. Once your SPF, DKIM, and DMARC records are properly configured, every email you send benefits from the trust they establish. You're not just improving deliverability -- you're protecting your brand from phishing and spoofing attacks that could damage your reputation and your customers' trust.
But authentication is only one piece of the deliverability puzzle. A perfectly authenticated email to an invalid address still bounces. A perfectly signed email to a spam trap still damages your reputation. Authentication tells mailbox providers you are who you say you are. Email verification ensures you're sending to people who actually exist and want to hear from you. Together, they're the foundation of consistently reaching the inbox.
If you haven't set up all three protocols yet, start today. Begin with SPF, then DKIM, then DMARC in monitoring mode. Use the checklist above. Your sender reputation -- and your inbox placement -- will thank you.
Protect your deliverability.
Authentication proves you're a legitimate sender. Clean lists prove you're a responsible one. ClearBounce removes invalid, risky, and suspicious email addresses before they trigger bounces and blacklistings that undo all your authentication work.
100 free credits. No credit card required.
Start Verifying for Free